Protein Bars Recipe
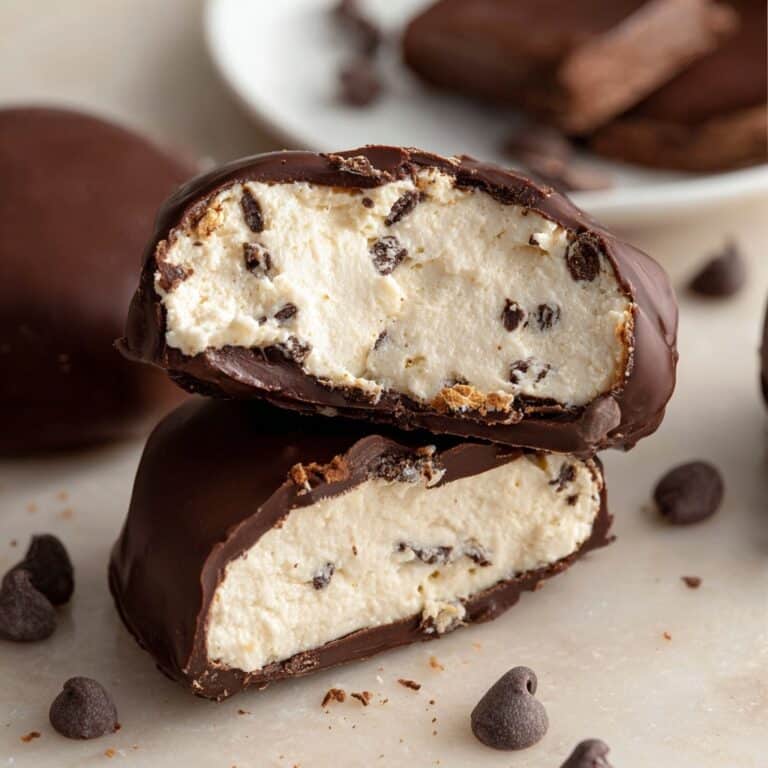
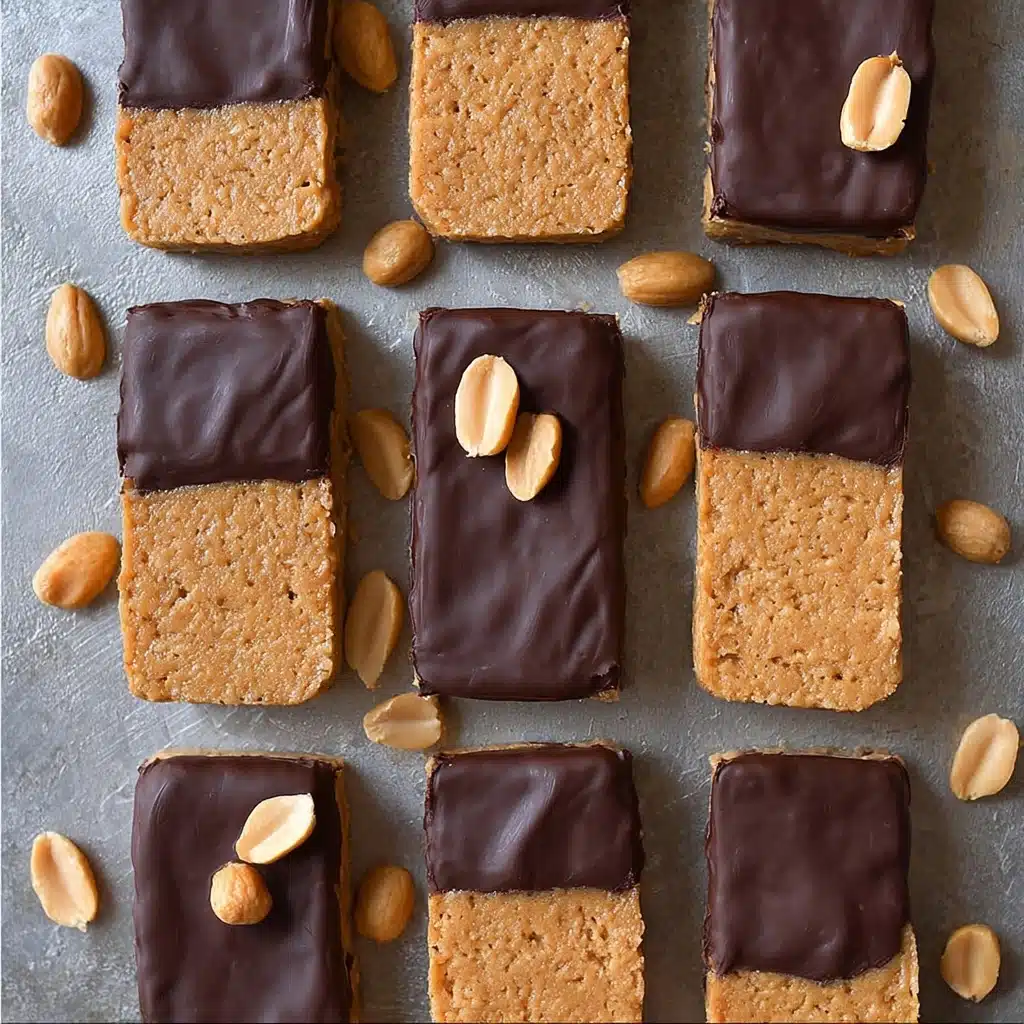
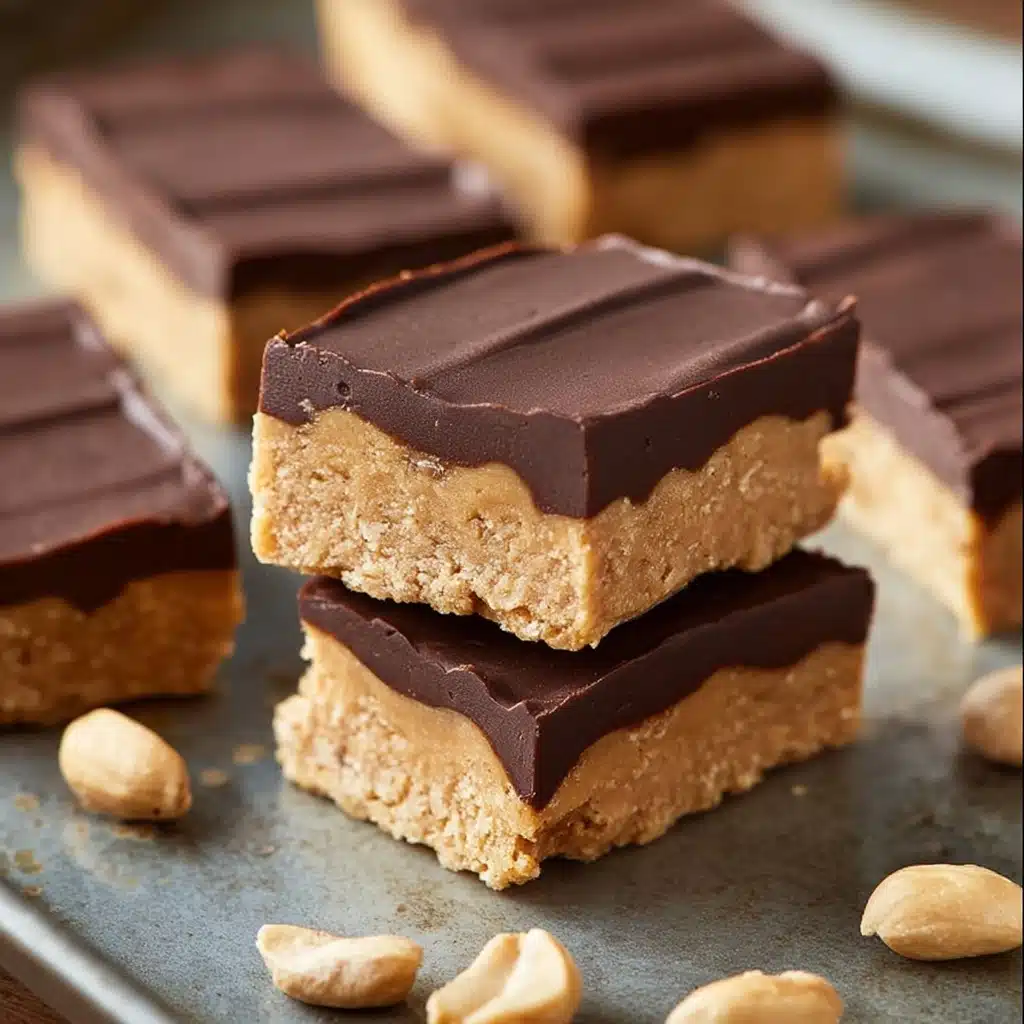
There’s something truly satisfying about homemade Protein Bars that not only fuel your body but also delight your taste buds. These bars bring together the rich creaminess of peanut butter, the power of protein powder, and just the right touch of natural sweetness from pure maple syrup, creating a snack you can feel good about anytime. Whether you’re hitting the gym, need a quick pick-me-up at work, or want a wholesome treat for the kids, these Protein Bars balance nutrition and flavor so effortlessly that you’ll keep going back for more.
Ingredients You’ll Need
Getting started with these Protein Bars requires just a handful of simple ingredients, each playing a crucial role in the final texture, taste, and nutrition. From nutty creaminess to that essential protein boost, every item contributes something special.
- Peanut Butter: Using 1 1/2 cups adds creamy richness and healthy fats that keep your bars satisfying.
- Protein Powder (90g): This is the star ingredient giving your bars the muscle fuel; choose a flavor you love or keep it neutral with unsweetened options.
- Pure Maple Syrup: A natural sweetener at 1/4 cup that adds subtle sweetness and binds the bars together wonderfully.
- Salt (1/2 tsp): Just a pinch enhances the overall flavors and balances sweetness for a more complex taste.
- Chocolate Chips (4 oz, optional): Melted for drizzling or dipping, these add a decadent finish that makes these bars feel like a treat.
How to Make Protein Bars
Step 1: Mix Your Ingredients
Start by combining the peanut butter, protein powder, pure maple syrup, and salt in a mixing bowl. Stir them well until a uniform dough forms, thick and slightly sticky. If you’re experimenting, this step is the perfect moment to adjust flavor with different protein powders or sweeteners.
Step 2: Shape the Bars
Once your dough is ready, you have two options: shape the mixture by hand into bars or press it evenly into a lined 8×8-inch pan. Both methods work beautifully. Using the pan creates classic bar shapes that are easy to slice after chilling, while hand shaping lets you customize size and thickness.
Step 3: Add Chocolate (Optional)
If you love a chocolatey touch, melt your chocolate chips. You can incorporate 2 teaspoons of oil into the melted chocolate to get a silky smooth coating. Spread this over the top of the bars in the pan before chilling or dip individual bars after they have set. Either way, the chocolate adds that irresistible richness.
Step 4: Chill Until Set
Pop your bars into the refrigerator for at least an hour to firm up. This chilling step is key! It helps the bars hold their shape and makes them easier to handle while also enhancing the flavors as they meld together.
How to Serve Protein Bars
Garnishes
Want to add a little extra flair when serving your Protein Bars? Sprinkle some chopped nuts, seeds, or a pinch of sea salt on top of the chocolate layer before chilling. Not only does this add a delightful crunch, but it elevates the presentation beautifully.
Side Dishes
Though your Protein Bars shine on their own, pairing them with fresh fruit, a dollop of Greek yogurt, or a glass of almond milk can turn your snack into a more complete mini-meal. This combo balances proteins, fats, and carbohydrates for sustained energy.
Creative Ways to Present
Think outside the box: slice your protein bars into bite-sized squares for easy sharing at parties or even freeze them on skewers for a fun on-the-go option. Wrapping individual bars in parchment paper tied with twine also makes for a charming handmade gift.
Make Ahead and Storage
Storing Leftovers
Keep your Protein Bars fresh by storing them in an airtight container in the refrigerator. They’ll stay perfect for up to one week, allowing you to grab a wholesome snack anytime without extra prep.
Freezing
If you want to keep your bars longer, freezing is a fantastic option. Wrap each bar tightly in plastic wrap and place them in a freezer-safe bag. They’ll last up to three months this way, thawing quickly when you need a power-packed bite.
Reheating
No need to warm these unless you prefer melted chocolate. Simply let frozen bars sit at room temperature for 10–15 minutes to soften or enjoy them chilled straight from the fridge for a refreshing protein boost.
FAQs
Can I use other nut butters instead of peanut butter?
Absolutely! Almond butter, cashew butter, or even sunflower seed butter are great alternatives if you have allergies or want to switch up the flavor. Just keep the texture similar for best results.
What type of protein powder works best?
You can use whey, plant-based, or collagen protein powders depending on your dietary preference. Just be sure to pick one with a taste you enjoy, especially since it impacts the overall flavor of your bars.
Are these bars suitable for a keto diet?
If you swap maple syrup for a keto-friendly sweetener like erythritol or stevia and choose a low-carb protein powder, these Protein Bars can fit into a ketogenic lifestyle nicely.
Can I add extras like chia seeds or dried fruit?
Yes! Adding chia seeds or finely chopped dried fruits will add texture and nutrients, but make sure to adjust the binding ingredients slightly if the mixture feels too dry or crumbly.
How long do these Protein Bars last at room temperature?
Due to the perishable ingredients like peanut butter, it’s best to keep them refrigerated. They may last a few hours at room temperature, but refrigeration ensures freshness and safety.
Final Thoughts
Once you try making these Protein Bars at home, you’ll wonder why you ever bought store-bought ones. They are simple, customizable, and absolutely delicious—a true game changer when it comes to healthy snacking. I can’t wait for you to enjoy fueling your body with these bars as much as I do!
PrintProtein Bars Recipe

Homemade protein bars featuring peanut butter, protein powder, and natural sweeteners. These bars are easy to prepare, customizable with your choice of protein powder and optional chocolate coating, making them a perfect on-the-go snack for energy and muscle repair.
- Prep Time: 10 minutes
- Cook Time: 0 minutes
- Total Time: 1 hour 10 minutes (including chilling time)
- Yield: 8–10 bars 1x
- Category: Snack
- Method: No-bake
- Cuisine: American
- Diet: Low Fat
Ingredients
Main Ingredients
- 1 1/2 cups peanut butter (or allergy-friendly substitute)
- 3/4 cup protein powder (90g, unsweetened preferred)
- 1/4 cup pure maple syrup (or honey)
- 1/2 tsp salt
Optional Topping
- 4 oz melted chocolate chips (optional)
- 2 tsp oil (optional, to mix with melted chocolate for smoother sauce)
Instructions
- Choose Your Protein Powder: Select an unsweetened protein powder you enjoy, as the flavor will impact the taste of the bars. You can experiment with different flavors for variety.
- Mix Ingredients: In a mixing bowl, combine peanut butter, protein powder, pure maple syrup, and salt. Stir thoroughly until a homogeneous dough forms with no dry pockets.
- Shape Bars: You can either shape the dough into bars using your hands or press the mixture evenly into a lined 8×8 inch pan for a more uniform bar size.
- Apply Optional Chocolate Coating: If desired, melt chocolate chips and optionally mix with oil for a smoother sauce. Spread the chocolate over the dough in the pan before refrigeration or dip each bar individually into the chocolate coating.
- Chill Bars: Refrigerate the shaped or pan-pressed bars until fully set and firm, approximately 1-2 hours, then cut into individual bars if prepared in a pan.
Notes
- Use an allergy-friendly peanut butter substitute for nut allergies.
- To keep bars vegan, use maple syrup instead of honey.
- Adding oil to melted chocolate helps achieve a smooth, spreadable consistency.
- Store bars in an airtight container in the refrigerator for up to one week.
- Feel free to customize flavor by adding mix-ins such as nuts, seeds, or dried fruit.
- Check the protein powder flavour before mixing to ensure it complements the other ingredients.
Nutrition
- Serving Size: 1 bar (approximately 50g)
- Calories: 220 kcal
- Sugar: 5 g
- Sodium: 150 mg
- Fat: 12 g
- Saturated Fat: 3 g
- Unsaturated Fat: 8 g
- Trans Fat: 0 g
- Carbohydrates: 18 g
- Fiber: 3 g
- Protein: 12 g
- Cholesterol: 0 mg
Keywords: protein bars, peanut butter bars, no bake protein bars, homemade protein snack, healthy protein bars, easy protein bars