Peanut Butter Stuffed Brownies Recipe
Introduction
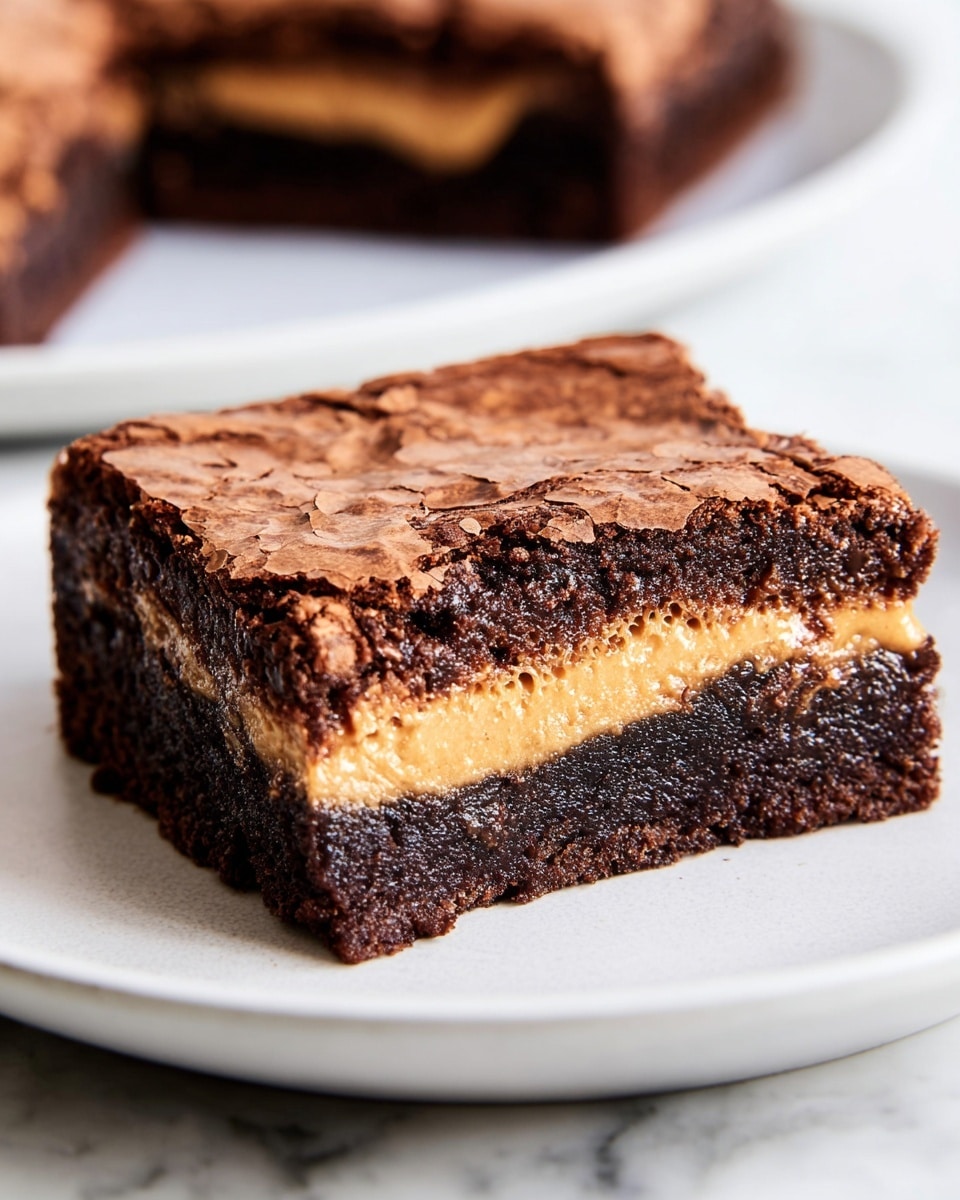
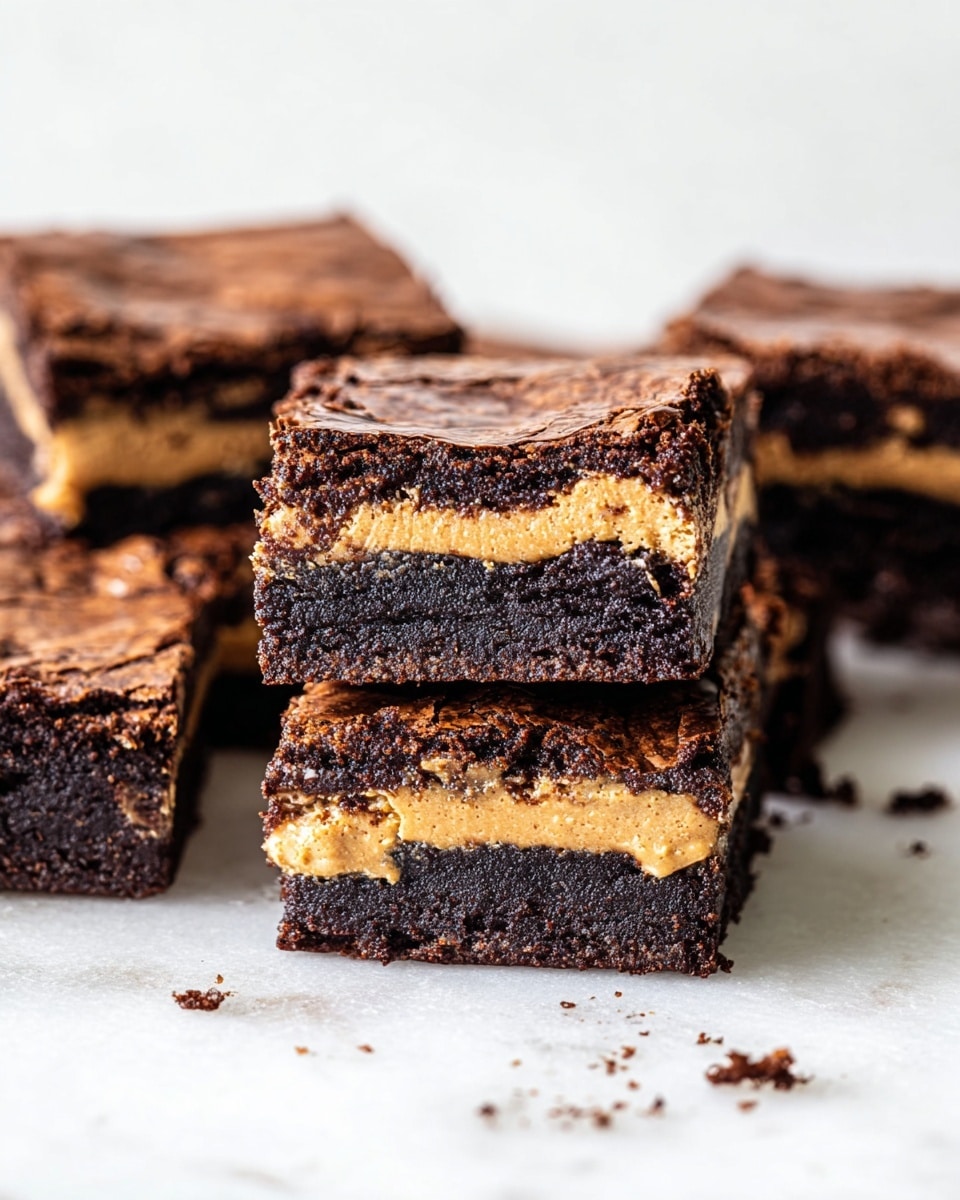
These Peanut Butter Stuffed Brownies combine rich, fudgy chocolate with a creamy peanut butter center for an indulgent treat. Perfect for peanut butter lovers, this recipe creates a decadent dessert that’s sure to impress at any gathering.
Ingredients
- 1 1/4 cups (336 grams) creamy conventional peanut butter (NOT natural)
- 10 tablespoons (142 grams) unsalted butter
- 4 ounces (113 grams) semisweet baking chocolate, chopped
- 1 cup (200 grams) granulated sugar
- 2 large eggs plus 1 egg yolk
- 1 teaspoon vanilla extract
- 1/2 cup (64 grams) all-purpose flour
- 1/4 cup (25 grams) unsweetened cocoa powder, sifted
- 1/4 teaspoon fine sea salt
Instructions
- Step 1: Place the peanut butter in a heat-safe bowl and microwave for 20 to 30 seconds until pourable but not hot.
- Step 2: Line an 8-inch square metal pan with parchment paper, leaving an overhang. Spread the peanut butter evenly in the pan and freeze for 1 hour or until solid. Remove the peanut butter sheet using the parchment and keep it frozen while preparing the batter.
- Step 3: Preheat the oven to 350°F and line the same pan again with parchment paper, leaving an overhang.
- Step 4: In a large microwave-safe bowl, melt the butter and chopped chocolate in 30-second intervals, stirring between bursts, until smooth. Stir in the sugar vigorously and let the mixture cool until just warm.
- Step 5: Whisk in the eggs, egg yolk, and vanilla extract until very well combined.
- Step 6: Gently fold in the flour, cocoa powder, and salt until just combined, using a rubber spatula.
- Step 7: Pour half of the brownie batter into the prepared pan and smooth the surface. Carefully place the frozen peanut butter sheet over the batter, then cover completely with the remaining batter.
- Step 8: Bake for about 30 minutes, until the brownies are cooked through but still slightly gooey in the center. Let cool in the pan for 30 minutes, then remove and cool another 30 minutes before slicing and serving.
Tips & Variations
- Use conventional creamy peanut butter for the best texture; natural peanut butter can be too oily and runny for the filling.
- For extra fudgy brownies, chill them in the fridge before serving.
- Try adding chopped peanuts or chocolate chips into the batter for added crunch and texture.
Storage
Store brownies in an airtight container at room temperature for up to 3 days or refrigerate for up to 5 days. Serving them chilled enhances their fudginess and makes slicing easier.
How to Serve
Serve this delicious recipe with your favorite sides.
FAQs
Can I use natural peanut butter instead of conventional?
It’s best to use conventional creamy peanut butter because natural varieties tend to separate and can make the filling too oily and loose.
How can I tell when the brownies are done?
The brownies are done when the edges are set and a toothpick inserted into the center comes out with moist crumbs but no wet batter. The center should remain slightly gooey for a fudgy texture.
PrintPeanut Butter Stuffed Brownies Recipe
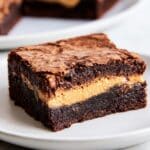
These Peanut Butter Stuffed Brownies combine rich, fudgy chocolate brownies with a creamy, frozen peanut butter center for a decadent dessert experience. The peanut butter layer is frozen to create a unique texture contrast against the soft, slightly gooey brownie topping and base, making this treat irresistible for peanut butter and chocolate lovers alike.
- Prep Time: 15 minutes
- Cook Time: 30 minutes
- Total Time: 1 hour 45 minutes
- Yield: 9 brownies (8-inch square pan, cut into 3x3 pieces) 1x
- Category: Dessert
- Method: Baking
- Cuisine: American
Ingredients
Peanut Butter Filling
- 1 1/4 cups (336 grams) creamy conventional peanut butter (NOT ‘natural’)
Brownie Batter
- 10 tablespoons (142 grams) unsalted butter
- 4 ounces (113 grams) semisweet baking chocolate, chopped
- 1 cup (200 grams) granulated sugar
- 2 large eggs plus 1 egg yolk
- 1 teaspoon vanilla extract
- 1/2 cup (64 grams) all-purpose flour
- 1/4 cup (25 grams) unsweetened cocoa powder, sifted
- 1/4 teaspoon fine sea salt
Instructions
- Make the peanut butter filling: Place the peanut butter in a heat-safe bowl and microwave for 20 to 30 seconds, or until it becomes pourable but is not too hot.
- Freeze peanut butter layer: Line a metal 8-inch square pan with parchment paper leaving an overhang. Spread the warmed peanut butter evenly in the pan. Freeze for 1 hour or until the peanut butter is solidified. Use the parchment paper to remove the peanut butter sheet from the pan and return it to the freezer to keep frozen while preparing the brownie batter.
- Preheat and prepare pan: Preheat the oven to 350°F (175°C). Line the same square pan again with parchment paper, leaving an overhang for easy removal later.
- Melt butter and chocolate: In a large microwave-safe bowl, combine the butter and chopped chocolate. Microwave in 30-second intervals, stirring between each, until the mixture is fully melted and smooth.
- Add sugar and cool: Stir the granulated sugar into the hot butter and chocolate mixture, whisking vigorously until fully combined. Allow the mixture to cool until it is just barely warm to the touch.
- Add eggs and vanilla: Whisk in the 2 large eggs, 1 egg yolk, and vanilla extract for about 1 minute until the mixture is very well combined and smooth.
- Add dry ingredients: Using a rubber spatula, fold in the flour, sifted cocoa powder, and sea salt until just combined, taking care not to overmix.
- Assemble brownies: Pour half of the brownie batter into the prepared pan, spreading it evenly. Carefully place the frozen peanut butter sheet on top of the batter. Pour the remaining batter over the peanut butter, covering it completely and smoothing the top.
- Bake: Bake the brownies in the preheated oven for approximately 30 minutes, until they are cooked through but still slightly gooey in the center.
- Cool and slice: Allow the brownies to cool in the pan for 30 minutes. Then, use the parchment paper overhang to lift the brownies out of the pan and let cool for an additional 30 minutes before slicing and serving.
- Storage: Store brownies in an airtight container at room temperature for up to 3 days or refrigerate for up to 5 days. Serving chilled enhances their fudginess.
Notes
- Use creamy conventional peanut butter rather than natural peanut butter for optimal texture and melting properties.
- Freezing the peanut butter layer creates a firm center that contrasts deliciously with the fudgy brownies.
- Microwave melting in short bursts prevents burning of the butter and chocolate.
- The brownies are best enjoyed slightly chilled for an extra fudgy texture.
- Use parchment paper with an overhang for easy removal from the pan.
Keywords: Peanut Butter Stuffed Brownies, peanut butter brownies, fudgy brownies, chocolate peanut butter dessert