Peanut Butter Rice Krispie Treats Recipe
Introduction
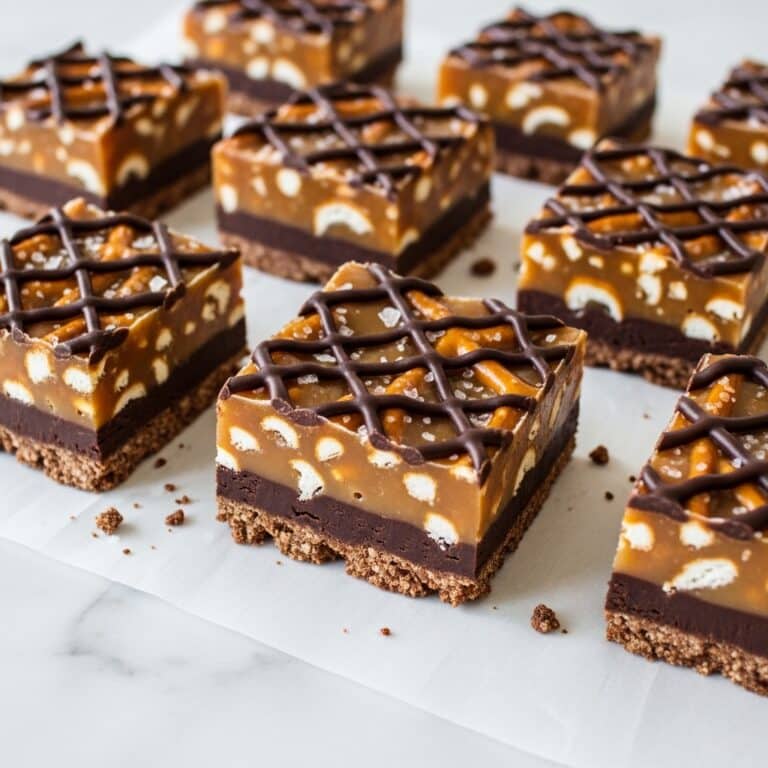
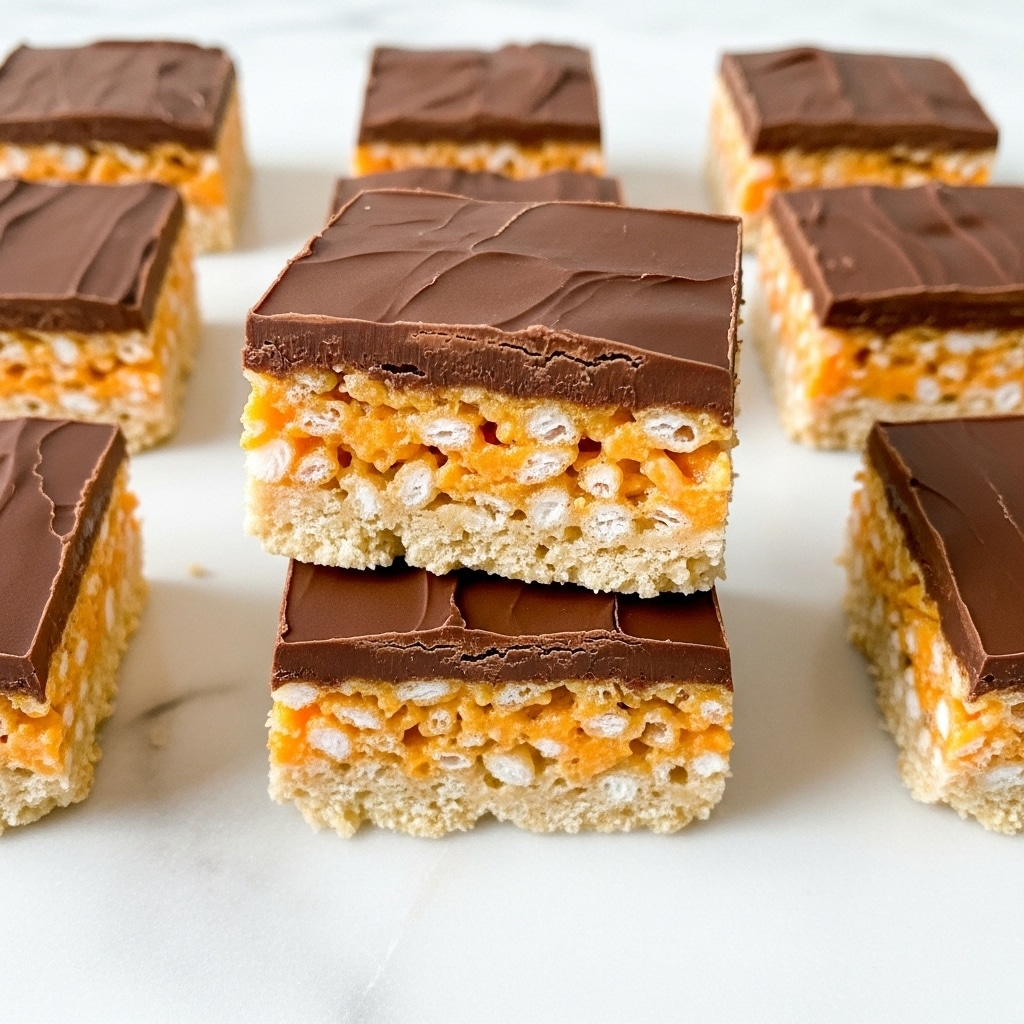
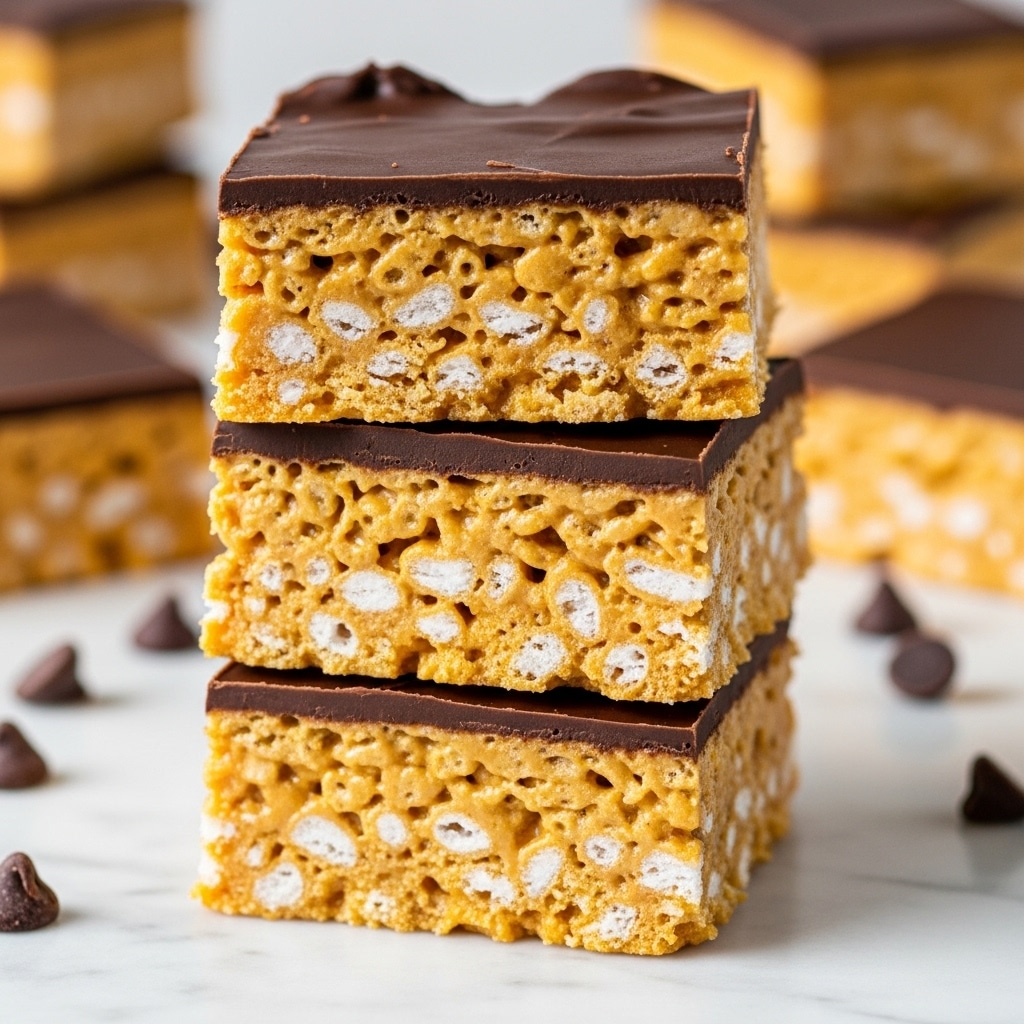
These Peanut Butter Rice Krispie Treats are a delightful twist on a classic favorite, combining the crunch of Rice Krispies with creamy peanut butter and a luscious chocolate swirl topping. They’re easy to make and perfect for sharing at any gathering or enjoying as a sweet snack.
Ingredients
- 6 cups Rice Krispies cereal
- 1 cup creamy peanut butter (for the base)
- 1/2 cup unsalted butter (1 stick)
- 1 (10 oz) bag mini marshmallows (about 5 1/2 cups)
- 1 cup creamy peanut butter (for the topping)
- 1 1/2 cups semi-sweet chocolate chips (or milk chocolate, if preferred)
Instructions
- Step 1: Lightly grease a 9×13-inch baking dish or line it with parchment paper for easier removal. Set aside while you prepare the mixture.
- Step 2: In a large saucepan over medium heat, melt the butter and 1 cup peanut butter together, stirring frequently until smooth and fully combined. Add the mini marshmallows and stir until they melt completely and the mixture is cohesive and glossy.
- Step 3: Remove the pan from heat and immediately stir in the Rice Krispies cereal. Fold quickly and thoroughly to coat all the cereal before the mixture cools and sets. Transfer to the prepared pan and press down gently with a spatula or wax paper to create an even layer without compacting too firmly.
- Step 4: In a microwave-safe bowl, heat the remaining 1 cup peanut butter in 30-second intervals, stirring in between, until smooth and pourable. In a separate bowl, melt the chocolate chips the same way, stirring until fully melted and silky.
- Step 5: Pour the melted peanut butter evenly over the base. Drizzle the melted chocolate over the top in lines or dollops. Use a toothpick or butter knife to swirl the two together in a marbled pattern.
- Step 6: Let the bars set at room temperature for 1 to 2 hours, or refrigerate for about 45 minutes to set more quickly. The topping should be firm before slicing.
- Step 7: Once set, use a sharp knife to cut the bars into squares. For cleaner cuts, wipe the knife blade between slices. Serve immediately or store in an airtight container.
Tips & Variations
- For a nut-free version, substitute peanut butter with sunflower seed butter or any seed butter of your choice.
- If you prefer a sweeter topping, use milk chocolate chips instead of semi-sweet.
- Press the base gently to maintain a light, crunchy texture—avoid compacting too firmly.
- Add a pinch of sea salt on top after swirling for a balance of sweet and salty flavors.
Storage
Store the treats in an airtight container at room temperature for up to 3 days. They can also be refrigerated for up to a week, which helps keep the chocolate topping firm. Let them come to room temperature before serving for the best texture. For longer storage, freeze the bars in a sealed container for up to 1 month and thaw overnight in the fridge.
How to Serve
Serve this delicious recipe with your favorite sides.
FAQs
Can I use crunchy peanut butter instead of creamy?
Yes, crunchy peanut butter will add extra texture and flavor but may make the base slightly less smooth. It works well if you enjoy a bit of crunch in your treats.
Do I have to use mini marshmallows or can I use large ones?
You can use large marshmallows, but they may take a bit longer to melt. Cut them into smaller pieces to melt evenly and avoid clumping in the mixture.
PrintPeanut Butter Rice Krispie Treats Recipe

Peanut Butter Rice Krispie Treats are a decadent twist on the classic marshmallow cereal bar, combining creamy peanut butter in both the base and topping with a luscious swirl of melted chocolate. These no-bake, easy-to-make treats offer a perfect balance of sweet, nutty, and crunchy textures, ideal for parties, snacks, or dessert.
- Prep Time: 10 minutes
- Cook Time: 10 minutes
- Total Time: 1 hour 30 minutes
- Yield: 12–16 bars 1x
- Category: Dessert
- Method: Stovetop
- Cuisine: American
Ingredients
For the Base:
- 6 cups Rice Krispies cereal
- 1 cup creamy peanut butter
- 1/2 cup unsalted butter (1 stick)
- 1 (10 oz) bag mini marshmallows (about 5 1/2 cups)
For the Topping:
- 1 cup creamy peanut butter
- 1 1/2 cups semi-sweet chocolate chips (or milk chocolate, if preferred)
Instructions
- Prep the Pan: Lightly grease a 9×13-inch baking dish or line it with parchment paper to ensure easy removal later. Set it aside while you prepare the Rice Krispie mixture.
- Make the Base: In a large saucepan over medium heat, melt the butter and 1 cup of creamy peanut butter together, stirring frequently until the mixture is smooth and fully combined. Add the mini marshmallows and continue stirring until they melt completely and the mixture becomes cohesive and glossy.
- Add the Cereal: Remove the saucepan from heat and immediately fold in the Rice Krispies cereal. Stir quickly and thoroughly to coat all the cereal pieces before the mixture begins to cool and set. Transfer this mixture into the prepared baking dish and gently press it down with a spatula or wax paper to create an even layer without compressing it too firmly.
- Melt the Topping: In a microwave-safe bowl, heat the remaining 1 cup of peanut butter in 30-second intervals, stirring between each, until smooth and pourable. In a separate bowl, melt the chocolate chips using the same microwave method, stirring until fully melted and silky.
- Add the Swirl: Pour the melted peanut butter evenly over the Rice Krispie base, spreading it to fully cover the surface. Then drizzle the melted chocolate over the peanut butter layer in lines or dollops. Use a toothpick or butter knife to gently swirl the two together, creating a beautiful marbled effect.
- Let Set: Allow the bars to set at room temperature for 1 to 2 hours until the topping is firm. Alternatively, refrigerate for about 45 minutes to speed up the setting process.
- Slice and Serve: Once set, slice the bars into squares using a sharp knife. For cleaner cuts, wipe the knife blade between slices. Serve immediately or store in an airtight container to maintain freshness.
Notes
- Use creamy peanut butter for smooth texture and better melting.
- Greasing the pan or lining with parchment paper makes removing the bars easier.
- Press the cereal mixture gently to keep the bars light and crispy.
- Allow the bars to fully set for neat slicing and the best texture.
- Store bars in an airtight container at room temperature for up to 3 days or refrigerate for longer freshness.
Keywords: Peanut Butter Rice Krispie Treats, Marshmallow Bars, Peanut Butter Chocolate Swirl, No-Bake Dessert, Snack Bars