Peanut Butter Cup Dump Cake Recipe
Introduction
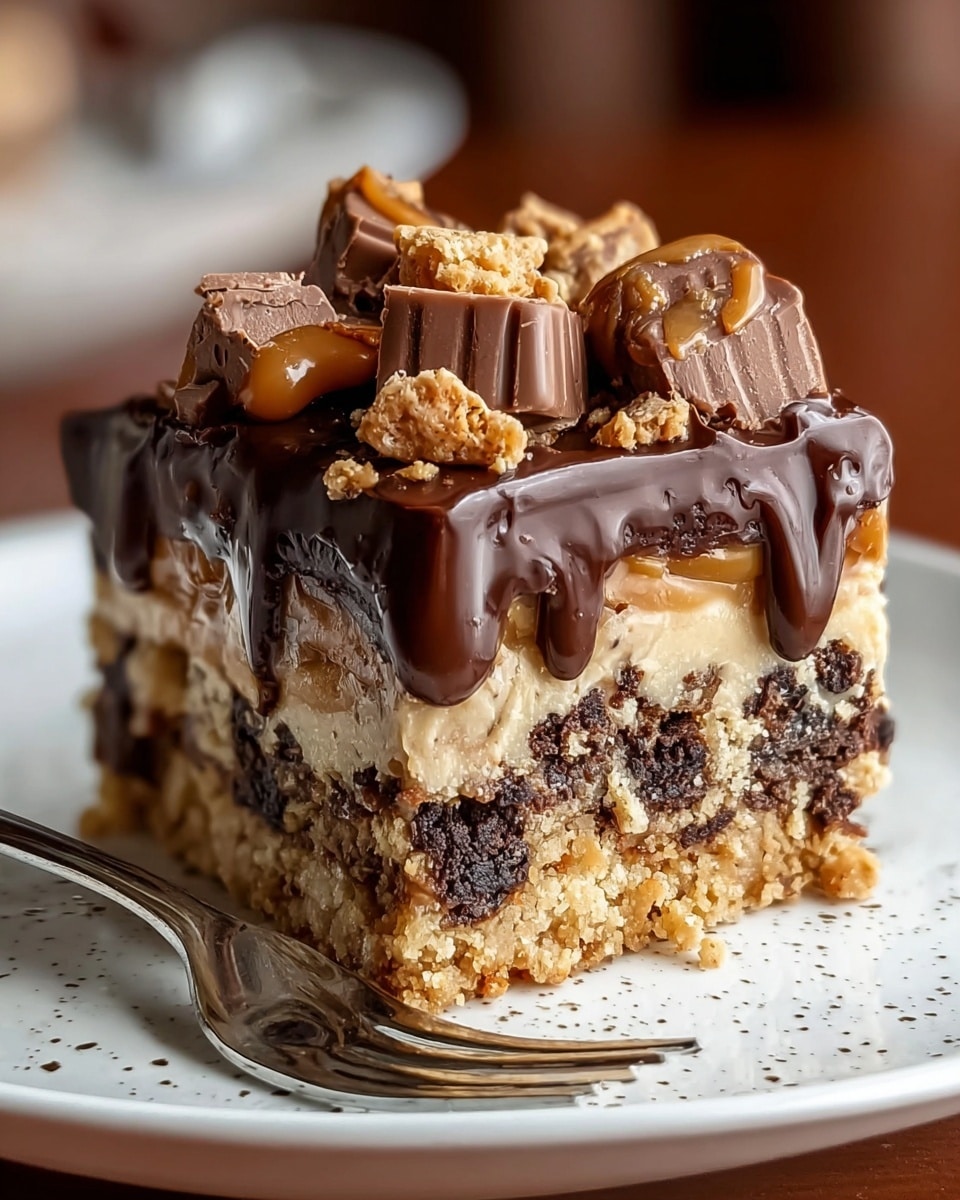
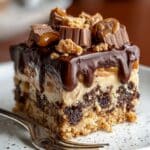
This Peanut Butter Cup Dump Cake is a wonderfully rich and easy-to-make dessert that combines chocolate and peanut butter in a deliciously gooey treat. With minimal prep and no complicated steps, it’s perfect for satisfying your sweet tooth in no time.
Ingredients
- 1 box (15.25 oz) chocolate cake mix
- 1 can (14 oz) sweetened condensed milk
- 1 cup milk (any kind works)
- 1/2 cup creamy peanut butter
- 1/2 cup butter, melted
- 1 teaspoon vanilla extract
- 1 (10-12 oz) bag of mini peanut butter cups, unwrapped (Reese’s recommended)
- Optional: chocolate syrup for drizzling
- Optional: whipped cream or vanilla ice cream for serving
Instructions
- Step 1: In a large bowl, combine sweetened condensed milk, milk, creamy peanut butter, and vanilla extract. Stir until the mixture is smooth and well blended.
- Step 2: Preheat your oven to 350°F (175°C). Grease a 9×13 inch baking dish to prevent sticking.
- Step 3: Pour the peanut butter mixture evenly into the prepared baking dish.
- Step 4: Sprinkle the chocolate cake mix evenly over the peanut butter mixture, making sure to cover the surface.
- Step 5: Drizzle the melted butter evenly over the cake mix to help it bake into a rich topping.
- Step 6: Spread the unwrapped mini peanut butter cups evenly over the top and gently press them down slightly into the batter.
- Step 7: Bake in the preheated oven for 30 to 35 minutes, or until the top is golden brown and a toothpick inserted in the center comes out with moist crumbs attached.
- Step 8: Allow the cake to cool for 15 to 20 minutes before serving to let it set.
- Step 9: Drizzle with chocolate syrup if desired, and serve warm with whipped cream or vanilla ice cream for an extra indulgent treat.
Tips & Variations
- For a fudgier texture, use half milk and half heavy cream instead of all milk in the peanut butter mixture.
- You can swap mini peanut butter cups for chopped full-size cups or peanut butter chips for a different texture.
- If you prefer crunchy peanut butter, it adds a nice contrast to the smooth batter.
- To make this gluten-free, use a gluten-free chocolate cake mix and check your peanut butter cups for gluten ingredients.
Storage
Store any leftover dump cake in an airtight container in the refrigerator for up to 4 days. Reheat individual servings in the microwave for about 20-30 seconds to enjoy warm again. This cake also freezes well—wrap tightly and freeze for up to 2 months. Thaw overnight in the refrigerator before reheating.
How to Serve

Serve this delicious recipe with your favorite sides.
FAQs
Can I use natural peanut butter instead of creamy?
Yes, you can use natural peanut butter, but be aware that it may alter the texture slightly as natural peanut butter tends to separate. Stir it well before measuring and mixing for best results.
Do I need to grease the baking dish?
Yes, greasing the dish helps prevent the cake from sticking and makes serving easier. You can use butter, non-stick spray, or even line the dish with parchment paper if preferred.
PrintPeanut Butter Cup Dump Cake Recipe
This Peanut Butter Cup Dump Cake is a luscious, no-fuss dessert that combines rich chocolate cake mix with creamy peanut butter and sweetened condensed milk, topped with mini peanut butter cups for an indulgent treat. Perfect for peanut butter lovers looking for an easy-to-make, crowd-pleasing dessert with minimal prep and maximum flavor.
- Prep Time: 10 minutes
- Cook Time: 30-35 minutes
- Total Time: 40-45 minutes
- Yield: 12 servings 1x
- Category: Dessert
- Method: Baking
- Cuisine: American
Ingredients
Base Mixture
- 1 can (14 oz) sweetened condensed milk
- 1 cup milk (any kind works!)
- 1/2 cup creamy peanut butter
- 1 teaspoon vanilla extract
Dry Ingredients
- 1 box (15.25 oz) chocolate cake mix
Topping
- 1/2 cup butter, melted
- 1 (10-12 oz) bag of mini peanut butter cups, unwrapped (Reese’s recommended)
Optional Garnishes
- Chocolate syrup for drizzling
- Whipped cream or vanilla ice cream for serving
Instructions
- Prepare Peanut Butter Mixture: In a large bowl, combine sweetened condensed milk, milk, creamy peanut butter, and vanilla extract. Mix thoroughly until the mixture is smooth and well combined. This creates the moist base for the cake.
- Prepare Baking Dish: Preheat your oven to 350°F (175°C). Generously grease a 9×13 inch baking dish to prevent sticking and make cleanup easier.
- Assemble Dump Cake: Pour the prepared peanut butter mixture evenly into the greased baking dish. Next, sprinkle the chocolate cake mix uniformly over the peanut butter layer. Then, drizzle the melted butter evenly over the entire surface to help create a rich, gooey texture as it bakes.
- Add Peanut Butter Cups: Evenly scatter the unwrapped mini peanut butter cups across the top of the cake mix, pressing them down slightly so they settle into the batter for a melty, peanut buttery surprise in every bite.
- Bake: Place the baking dish in the preheated oven and bake for 30 to 35 minutes. The cake is done when the top turns golden brown and a toothpick inserted into the center comes out with moist crumbs attached, indicating it’s perfectly cooked but still gooey.
- Cool: Remove the cake from the oven and allow it to cool for at least 15 to 20 minutes. Cooling lets the cake set, making it easier to cut and serve.
- Serve: Optionally drizzle chocolate syrup on top for extra decadence. Serve the dump cake warm with a dollop of whipped cream or a scoop of vanilla ice cream for an irresistible dessert experience.
Notes
- You can use any type of milk for this recipe, including dairy-free alternatives.
- Ensure the peanut butter is creamy for easier mixing and smoother texture.
- The cake can be stored in the refrigerator in an airtight container for up to 3 days.
- Reheat individual servings in the microwave for about 20 seconds for a warm dessert.
- Feel free to substitute mini peanut butter cups with your favorite peanut butter candies or chocolate chips for variation.
Keywords: Peanut Butter Cup Dump Cake, easy dessert, chocolate peanut butter cake, no-fuss cake, dump cake recipe, peanut butter dessert