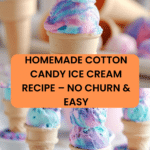
Cotton Candy Ice Cream Recipe
Introduction
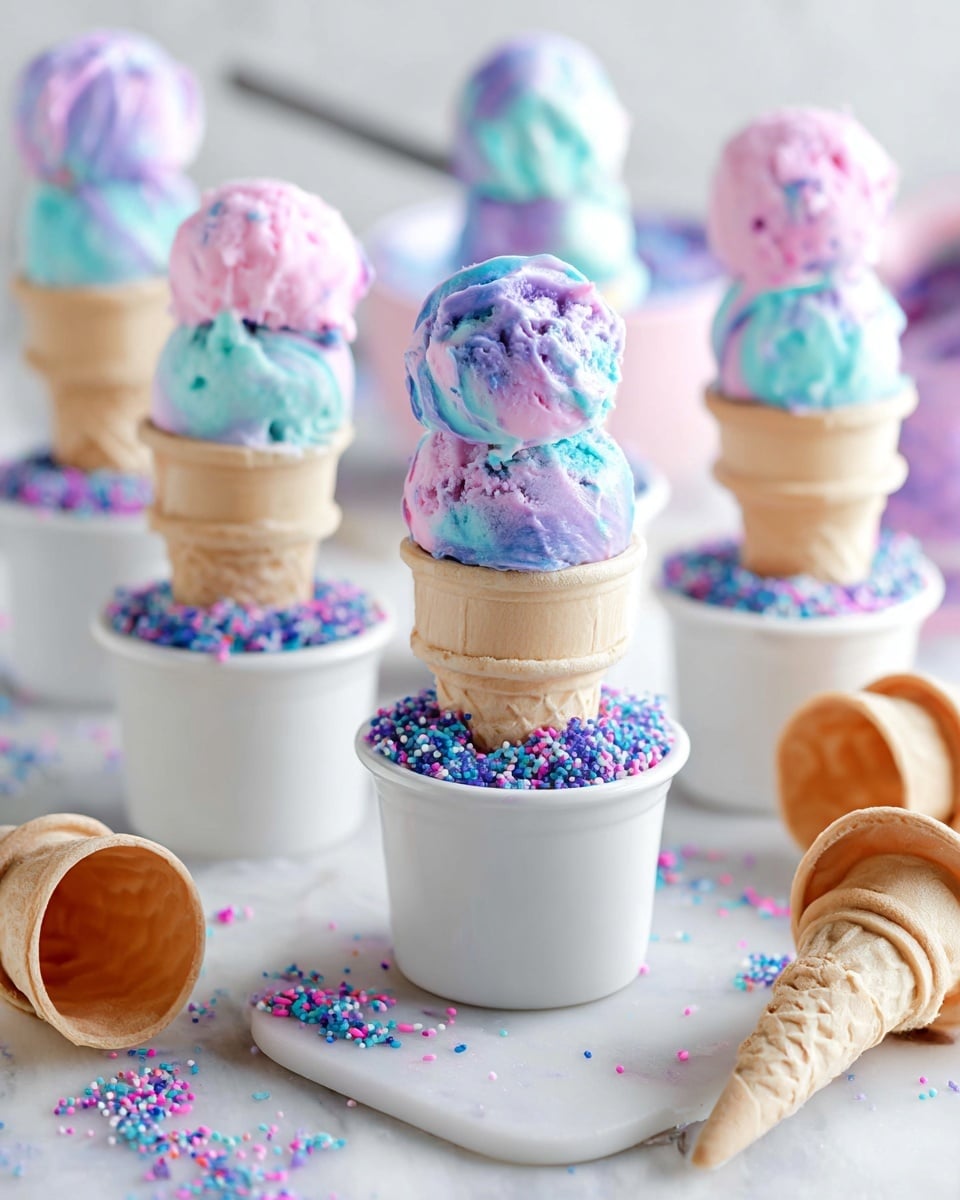
Cotton Candy Ice Cream is a fun and whimsical treat that captures the sweet, nostalgic flavor of cotton candy in a creamy frozen dessert. This no-churn recipe is quick to prepare and perfect for special occasions or a playful summer indulgence.

Ingredients
- 2 cups very cold heavy whipping cream
- 1 can (14 oz) sweetened condensed milk, cold
- 2 teaspoons cotton candy flavoring (see notes)
- Food coloring in pink and blue (optional)
Instructions
- Step 1: Place a loaf pan or container in the freezer for at least 30 minutes before starting.
- Step 2: Chill a bowl and whisk in the freezer for at least 30 minutes to ensure the cream whips well.
- Step 3: Make sure both the heavy whipping cream and sweetened condensed milk are very cold before you begin.
- Step 4: In a large bowl or stand mixer bowl, beat the heavy whipping cream until stiff peaks form.
- Step 5: In a separate medium bowl, stir together the sweetened condensed milk and cotton candy flavoring until smooth.
- Step 6: Gradually add the milk mixture to the whipped cream by gently folding to keep the texture light and airy.
- Step 7: For a colorful twist, divide the combined mixture into two bowls (about 3 cups each) if you want pink and blue ice cream.
- Step 8: Add pink food coloring to one bowl and blue to the other, mixing gently to combine.
- Step 9: Remove the chilled container from the freezer and spoon the ice cream mixtures alternately into the container.
- Step 10: Freeze the mixture overnight to allow it to set fully.
- Step 11: Serve the cotton candy ice cream with actual cotton candy on the side for a fun and festive presentation.
Tips & Variations
- Use high-quality cotton candy flavoring for the best and most authentic taste.
- If you prefer one color, skip the dividing step and add a single food coloring to the whole batch.
- Gently folding the mixtures is key to maintaining a light, airy texture in the ice cream.
- Try mixing in mini marshmallows or sprinkles for extra fun texture and appearance.
Storage
Store the ice cream in an airtight container in the freezer. It will keep well for up to 2 weeks. When ready to serve, allow the ice cream to soften at room temperature for about 5 minutes to make scooping easier.
How to Serve
Serve this delicious recipe with your favorite sides.
FAQs
Can I use regular flavoring instead of cotton candy flavoring?
Yes, you can substitute other flavorings, but cotton candy flavoring is what gives this ice cream its unique, nostalgic taste.
Do I need an ice cream maker to make this recipe?
No, this is a no-churn ice cream recipe that relies on whipped cream and freezing to achieve a creamy texture without an ice cream machine.
PrintCotton Candy Ice Cream Recipe

This Cotton Candy Ice Cream recipe is a delightful no-churn treat featuring the whimsical flavors of cotton candy. Made with whipped heavy cream, sweetened condensed milk, and cotton candy flavoring, this vibrant pink and blue ice cream captures the nostalgic taste of the carnival favorite in a creamy frozen dessert. Perfect for parties or a fun summer treat, it requires no ice cream maker and freezes overnight to a perfect scoopable consistency.
- Prep Time: 15 minutes
- Cook Time: 0 minutes
- Total Time: 8 hours 15 minutes
- Yield: Approximately 6 servings 1x
- Category: Dessert
- Method: No-Cook
- Cuisine: American
Ingredients
Main Ingredients
- 2 cups very cold heavy whipping cream
- 1 can (14 oz) sweetened condensed milk, cold
- 2 teaspoons cotton candy flavoring
- Food coloring in pink and blue (optional)
Instructions
- Prepare Freezer and Tools: Place a loaf pan or container in the freezer for at least 30 minutes to chill. Also, put a mixing bowl and a whisk in the freezer for at least 30 minutes before you begin to help the cream whip better.
- Ensure Cold Ingredients: Make sure both the heavy whipping cream and sweetened condensed milk are very cold—this helps in achieving a light, fluffy texture.
- Whip the Cream: In a chilled large bowl or the bowl of a stand mixer, beat the heavy whipping cream until stiff peaks form, which means it should hold firm peaks when you lift the whisk.
- Mix Condensed Milk and Flavor: In a separate medium bowl, stir together the sweetened condensed milk and cotton candy flavoring until fully incorporated and smooth.
- Combine Mixtures: Gradually fold the condensed milk mixture gently into the whipped cream. Use a folding motion to retain as much air as possible for a fluffy ice cream texture.
- Add Coloring (Optional): If you want to create the classic cotton candy colors, divide the mixture into two equal parts. Add pink food coloring to one portion and blue to the other and mix gently to incorporate the colors evenly.
- Assemble Ice Cream: Remove your chilled container from the freezer. Spoon dollops of the colored ice cream mixtures alternately into the container to create a marbled effect, or keep them separate as layers.
- Freeze: Place the container in the freezer and freeze the ice cream overnight until firm and scoopable.
- Serve: Serve the cotton candy ice cream chilled, optionally with a side of fresh cotton candy for a nostalgic touch.
Notes
- Use high-quality cotton candy flavoring for the best taste.
- Ensure all dairy ingredients and equipment are well chilled for optimal whipping and texture.
- Be gentle when folding to keep the mixture light and airy.
- This is a no-churn ice cream recipe, so no ice cream maker is needed.
- Freeze time can vary slightly depending on freezer temperature but typically needs at least 6 hours or overnight.
- Food coloring is optional but gives the ice cream the classic cotton candy look.
Keywords: cotton candy ice cream, no churn ice cream, homemade ice cream, easy ice cream recipe, carnival dessert, sweetened condensed milk ice cream, whipped cream ice cream, colorful ice cream