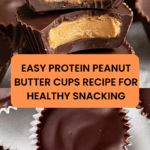
Protein Peanut Butter Cups Recipe
Introduction
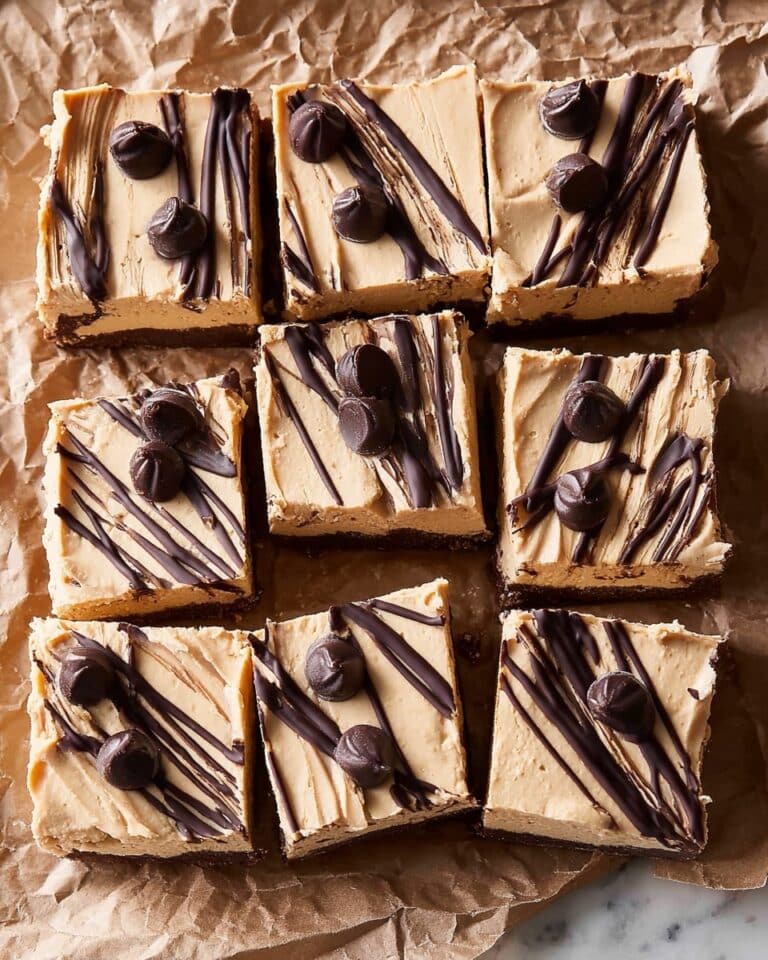
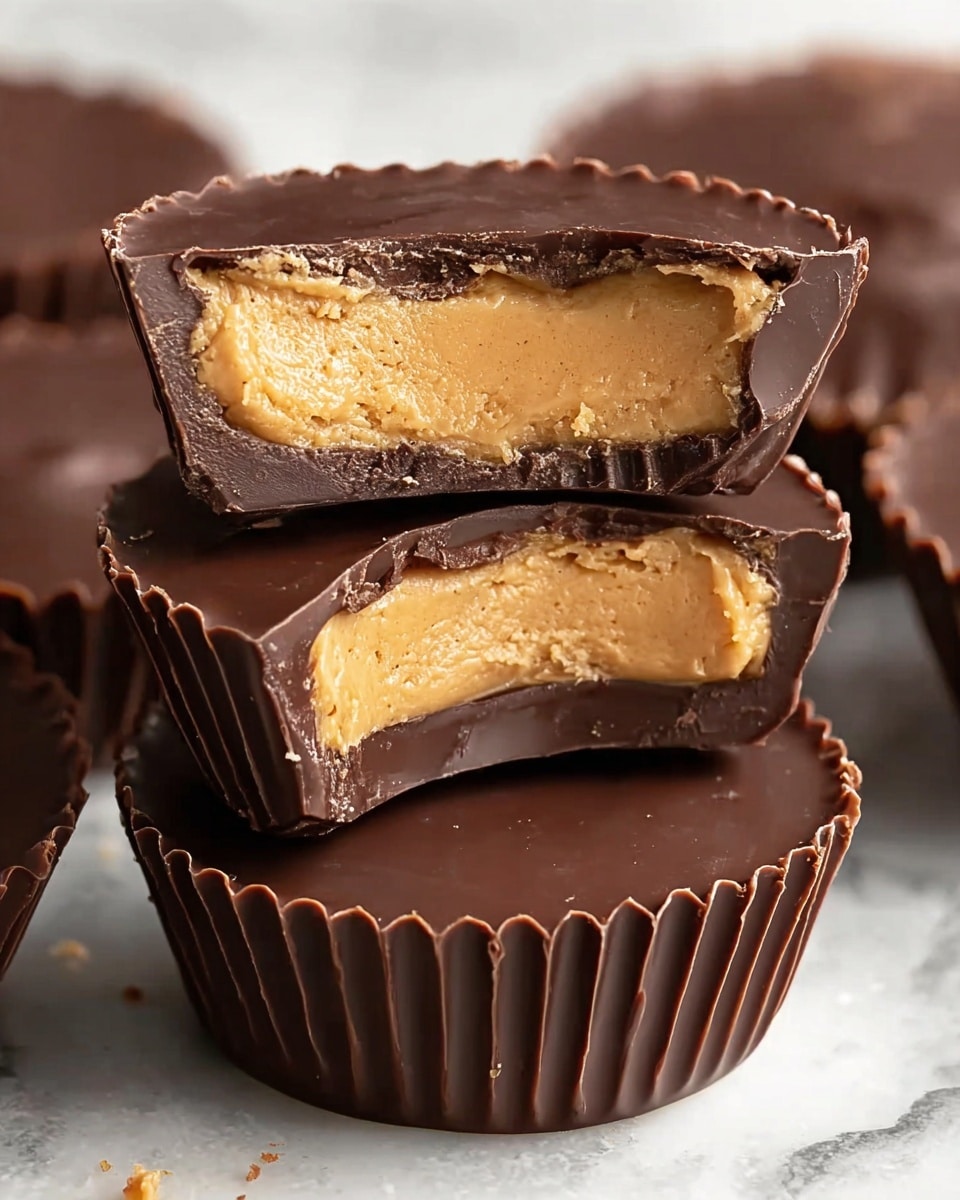
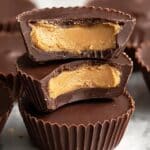
These Protein Peanut Butter Cups are a delicious and healthy twist on a classic treat. Made with natural peanut butter and vanilla protein powder, they offer a satisfying balance of rich chocolate and creamy peanut butter that’s perfect for a post-workout snack or anytime craving.
Ingredients
- 12 oz semi-sweet chocolate chips
- 1 teaspoon coconut oil (solid)
- 1/4 teaspoon vanilla extract
- 1/4 cup natural creamy peanut butter (ingredients: peanuts + salt only)
- 2 tablespoons pure maple syrup
- 1/3 cup vanilla protein powder
- 1/4 teaspoon salt
Instructions
- Step 1: Line a muffin tin with parchment paper muffin liners to prevent sticking and make removal easier.
- Step 2: Place the chocolate chips and coconut oil in a microwave-safe bowl. Microwave in 30-second intervals, stirring after each, until completely melted and smooth. Stir in the vanilla extract.
- Step 3: Pour about 1 heaping teaspoon of melted chocolate into each muffin liner. Spread to the edges to form a flat base layer in all 12 cups.
- Step 4: Refrigerate the muffin tin to set the chocolate base while preparing the filling.
- Step 5: In a microwave-safe bowl, warm the peanut butter for 15–20 seconds until runny. Stir in the vanilla protein powder, salt, and maple syrup until smooth.
- Step 6: Divide the peanut butter mixture into 12 equal portions. Shape each portion into a disc slightly smaller than the muffin liner.
- Step 7: Remove the muffin tin from the fridge and place a peanut butter disc on top of each chocolate base.
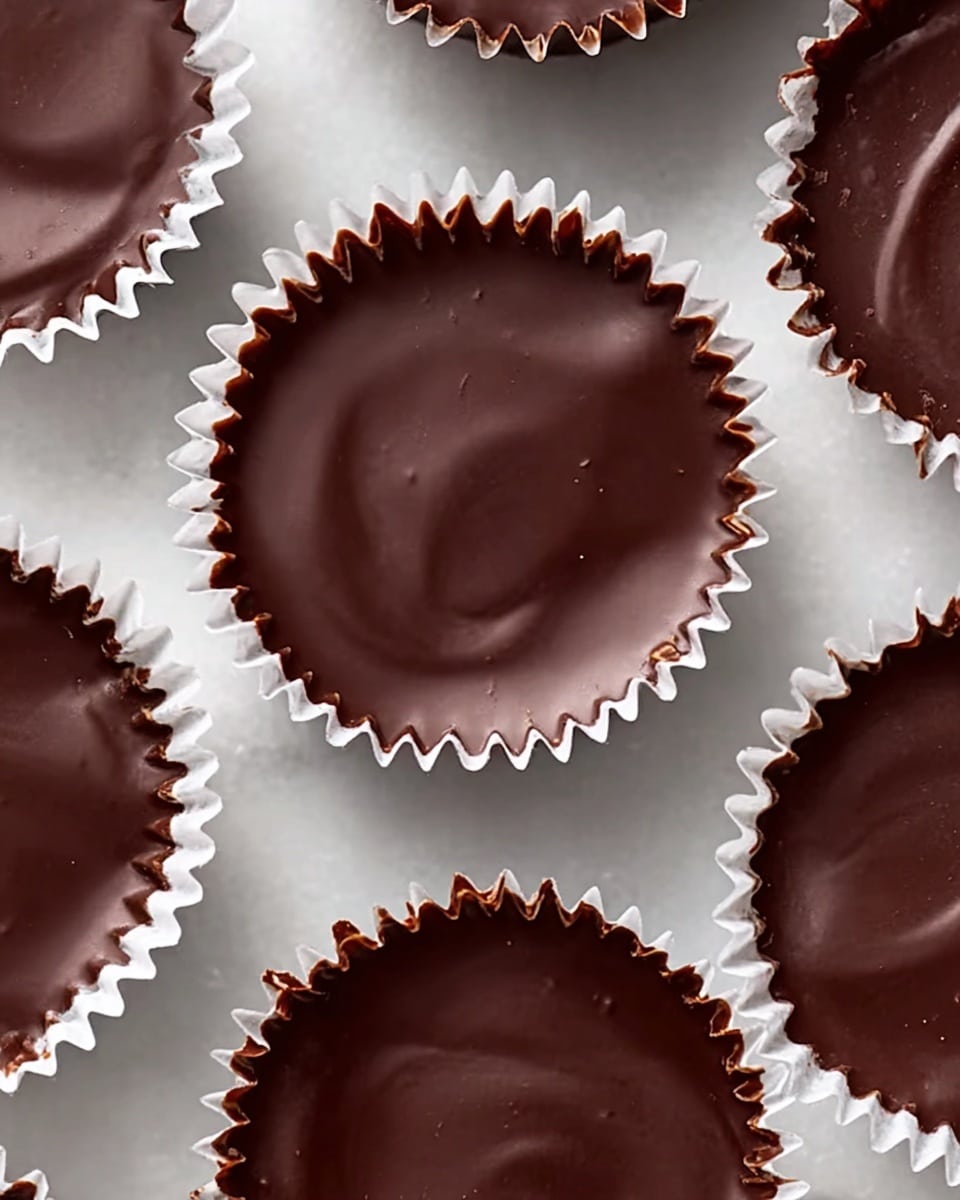
- Step 8: If the melted chocolate has thickened, microwave for another 15–20 seconds to loosen. Drizzle the remaining chocolate over each cup, smoothing it evenly to seal the peanut butter inside.
- Step 9: Return the muffin tin to the refrigerator for at least one hour until the peanut butter cups are fully set and firm.
- Step 10: Serve immediately or store for later enjoyment.
Tips & Variations
- Use natural peanut butter with no added sugars or oils for a cleaner flavor and better texture.
- For a dairy-free version, ensure your chocolate chips are vegan and use maple syrup as the sweetener.
- Try swapping vanilla protein powder for chocolate protein powder for a richer taste.
- Press the peanut butter discs flat and smooth to prevent cracking of the top chocolate layer.
Storage
Store leftover peanut butter cups in an airtight container in the refrigerator for up to one week or freeze for up to one month. To enjoy, let frozen cups thaw in the fridge for about 15 minutes. These treats soften quickly at room temperature, so keeping them chilled is best.
How to Serve
Serve this delicious recipe with your favorite sides.
FAQs
Can I use crunchy peanut butter instead of creamy?
Yes, but the texture will be chunkier and may affect how smoothly the filling spreads. For best results and easier shaping, creamy peanut butter is recommended.
How do I prevent the chocolate from melting too quickly when eating?
Keep the peanut butter cups refrigerated until just before serving. Storing them cold helps the chocolate stay firm and less likely to melt quickly in your hands.
PrintProtein Peanut Butter Cups Recipe
Delicious and protein-packed homemade Peanut Butter Cups made with creamy natural peanut butter, rich semi-sweet chocolate, and vanilla protein powder. These cups are perfect as a healthy snack or a guilt-free treat, combining the classic flavors of peanut butter and chocolate with added nutritional benefits.
- Prep Time: 15 minutes
- Cook Time: 5 minutes
- Total Time: 1 hour 20 minutes
- Yield: 12 peanut butter cups 1x
- Category: Dessert
- Method: No-Cook
- Cuisine: American
- Diet: Low Fat
Ingredients
Chocolate Layer
- 12 oz semi-sweet chocolate chips
- 1 teaspoon coconut oil (solid)
- 1/4 teaspoon vanilla extract
Peanut Butter Filling
- 1/4 cup natural creamy peanut butter (ingredients: peanuts + salt only)
- 2 tablespoons pure maple syrup
- 1/3 cup vanilla protein powder
- 1/4 teaspoon salt
Instructions
- Prepare the Muffin Tin: Line a muffin tin with parchment paper muffin liners to prevent sticking and make removing the peanut butter cups easy.
- Melt the Chocolate: Combine the chocolate chips and coconut oil in a microwave-safe bowl. Microwave in 30-second intervals, stirring between each, until completely melted and smooth. Stir in the vanilla extract once melted.
- Create Chocolate Base Layers: Pour 1 heaping teaspoon of the melted chocolate into each muffin liner. Spread it evenly to the edges forming a flat base layer for all 12 cups.
- Chill the Chocolate: Place the muffin tin in the refrigerator to set the chocolate base while preparing the filling.
- Make the Peanut Butter Filling: Microwave the peanut butter for 15–20 seconds until runny. Mix in the vanilla protein powder, salt, and maple syrup until fully combined and creamy.
- Assemble Peanut Butter Discs: Divide the peanut butter mixture into 12 equal discs slightly smaller than the muffin liners. Shape them by hand for best results.
- Add Filling to Cups: Remove the muffin tin from the refrigerator and place a peanut butter disc into each cup on top of the chocolate base.
- Add Remaining Chocolate: If the melted chocolate has thickened, microwave for an additional 15–20 seconds to loosen. Drizzle the remaining chocolate over each cup and smooth it evenly to seal in the filling.
- Chill Until Set: Return the muffin tin to the refrigerator for at least one hour or until the peanut butter cups are firm and completely set.
- Serve and Store: Enjoy immediately, or store leftover cups in an airtight container in the refrigerator or freezer for later snacking.
Notes
- Use parchment paper liners to make removal easier and cleaner.
- Make sure the peanut butter is runny for better mixing.
- If the chocolate thickens while assembling, gently reheat to maintain a smooth texture.
- Store peanut butter cups in the refrigerator or freezer to maintain firmness and freshness.
- These cups are best enjoyed within one week if refrigerated, or up to one month if frozen.
Keywords: protein peanut butter cups, healthy peanut butter cups, homemade peanut butter cups, protein snack, chocolate peanut butter treats, low fat dessert