Butterfinger Pie Recipe
Introduction
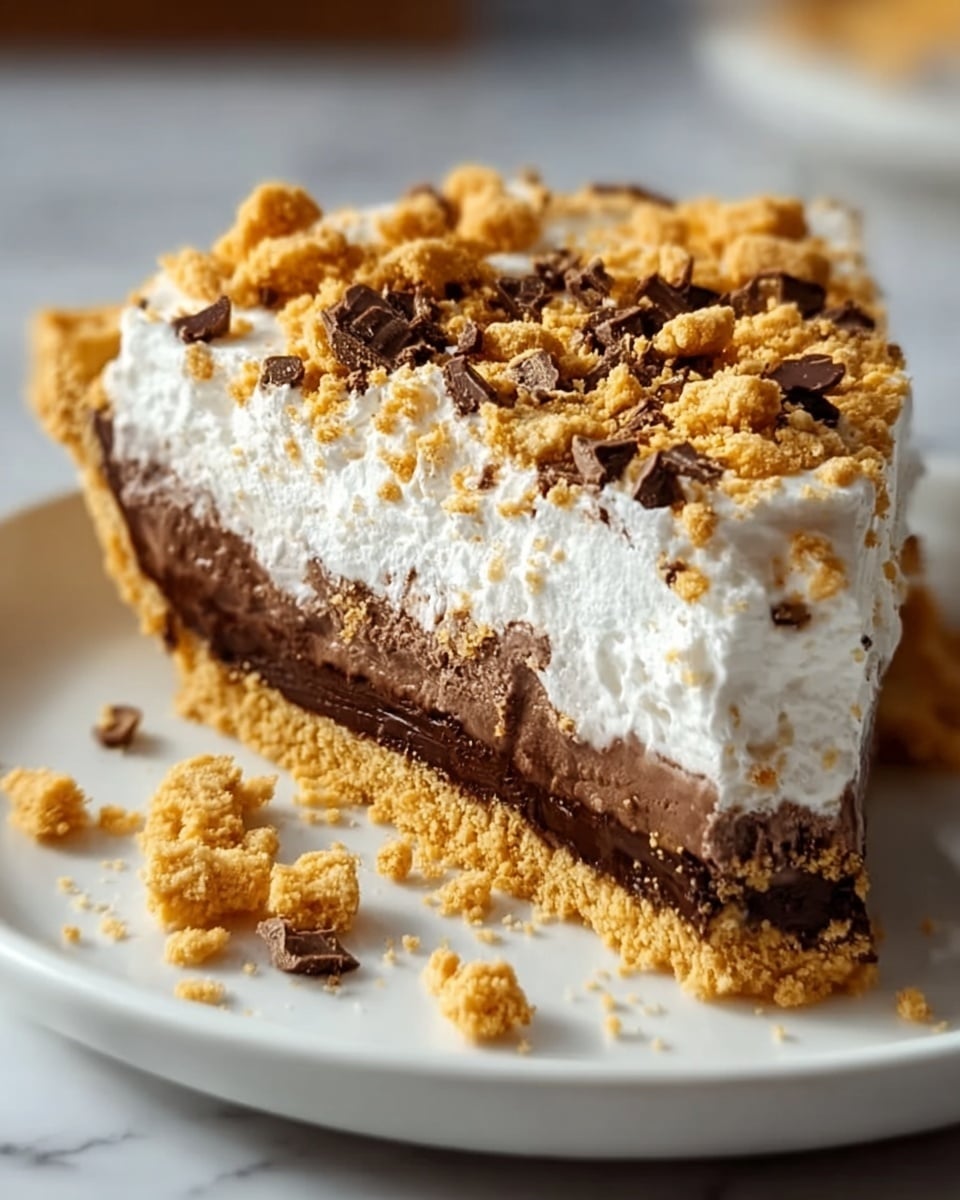
Butterfinger Pie is a delightful, no-bake dessert that combines creamy peanut butter filling with crunchy Butterfinger candy bars. This easy-to-make pie is perfect for satisfying a sweet tooth with minimal effort.
Ingredients
- 1 package (8 oz) cream cheese, softened
- 1 container (8 oz) whipped topping
- 1 cup powdered sugar
- ½ cup creamy peanut butter
- 3 Butterfinger candy bars, crushed
- 1 pre-made graham cracker crust
- ½ teaspoon vanilla extract
Instructions
- Step 1: Soften the cream cheese by leaving it at room temperature for about 30-45 minutes to ensure a smooth filling.
- Step 2: In a large bowl, beat the cream cheese with a hand mixer until smooth and lump-free.
- Step 3: Mix in the powdered sugar and vanilla extract until well blended.
- Step 4: Stir in the peanut butter until creamy and fully incorporated.
- Step 5: Gently fold in the whipped topping using a spatula, being careful not to deflate the mixture.
- Step 6: Stir in about 2 ½ of the crushed Butterfinger bars, reserving the rest for garnish.
- Step 7: Spoon the filling evenly into the graham cracker crust and smooth the top.
- Step 8: Refrigerate for at least 4 hours, or preferably overnight, to allow the pie to set.
- Step 9: Before serving, garnish the pie with the reserved crushed Butterfinger pieces and optional extra whipped cream.
Tips & Variations
- Use crunchy or creamy peanut butter based on your texture preference.
- For extra flavor, add a pinch of salt to balance the sweetness.
- Try using a chocolate or chocolate graham cracker crust for a richer taste.
Storage
Store the Butterfinger Pie covered in the refrigerator for up to 3 days. Reheat is not recommended, but if desired, allow the pie to sit at room temperature for 10-15 minutes before serving to soften slightly.
How to Serve

Serve this delicious recipe with your favorite sides.
FAQs
Can I make this pie ahead of time?
Yes, making the pie the day before allows it to set properly and improve the flavors, making it perfect for entertaining.
Can I substitute the whipped topping with homemade whipped cream?
Absolutely. Homemade whipped cream works well and adds a fresh touch, just fold it in gently to maintain fluffiness.
PrintButterfinger Pie Recipe

This Butterfinger Pie is a luscious no-bake dessert featuring a creamy peanut butter and cream cheese filling mixed with crushed Butterfinger candy bars, all nestled in a graham cracker crust. Light whipped topping adds fluffiness, making this pie a perfect combination of smooth, sweet, and crunchy textures with the irresistible flavor of Butterfinger candy.
- Prep Time: 15 minutes
- Cook Time: 0 minutes
- Total Time: 4 hours 15 minutes (including chilling time)
- Yield: 8 servings 1x
- Category: Dessert
- Method: No-Cook
- Cuisine: American
Ingredients
Filling
- 1 package (8 oz) cream cheese, softened
- 1 cup powdered sugar
- ½ cup creamy peanut butter
- ½ teaspoon vanilla extract
- 1 container (8 oz) whipped topping
- 3 Butterfinger candy bars, crushed
Crust
- 1 pre-made graham cracker crust
Instructions
- Soften Cream Cheese: Leave the cream cheese at room temperature for 30 to 45 minutes to ensure it softens and will blend smoothly without lumps.
- Beat Cream Cheese: Using a hand mixer in a large bowl, beat the softened cream cheese until smooth and lump-free to create a creamy base.
- Add Sugar and Vanilla: Mix in the powdered sugar and vanilla extract thoroughly until the mixture is well blended and consistent.
- Stir in Peanut Butter: Blend in the creamy peanut butter until it is fully incorporated and the mixture is smooth and cohesive.
- Fold in Whipped Topping: Gently fold the whipped topping into the mixture using a spatula to keep the mixture light and airy, making sure it’s evenly mixed but not deflated.
- Add Crushed Butterfingers: Stir in about 2 ½ of the crushed Butterfinger candy bars, reserving the remaining pieces for garnish.
- Fill Pie Crust: Spoon the prepared filling into the pre-made graham cracker crust and smooth the top evenly with a spatula.
- Chill Thoroughly: Refrigerate the pie for at least 4 hours, preferably overnight, to let the filling set firmly and develop flavor.
- Garnish and Serve: Before serving, top the pie with the reserved crushed Butterfinger pieces and optional extra whipped cream for added texture and visual appeal.
Notes
- Ensure cream cheese is fully softened for easiest mixing and smoothest texture.
- Use creamy peanut butter to maintain a smooth filling without graininess.
- Folding in whipped topping preserves the light, fluffy texture of the pie filling.
- For best flavor, allow the pie to chill overnight rather than just 4 hours.
- Garnish adds crunch and enhances presentation.
- This pie is best served cold straight from the refrigerator.
Keywords: Butterfinger pie, no-bake pie, peanut butter dessert, candy bar pie, easy dessert, graham cracker crust pie