How to Make a Sourdough Starter from Scratch Recipe
Introduction
Creating your own sourdough starter is a rewarding process that brings natural fermentation to your kitchen. This simple starter recipe uses just flour and water to cultivate the wild yeast that will give your bread its signature tang and texture.
Ingredients
- ½ cup whole wheat flour or unbleached all-purpose flour
- ¼ to ⅓ cup water (75°F is ideal)
- 1 glass jar or bowl (about 32 ounces)
- 1 paper towel
- 1 rubber band
Instructions
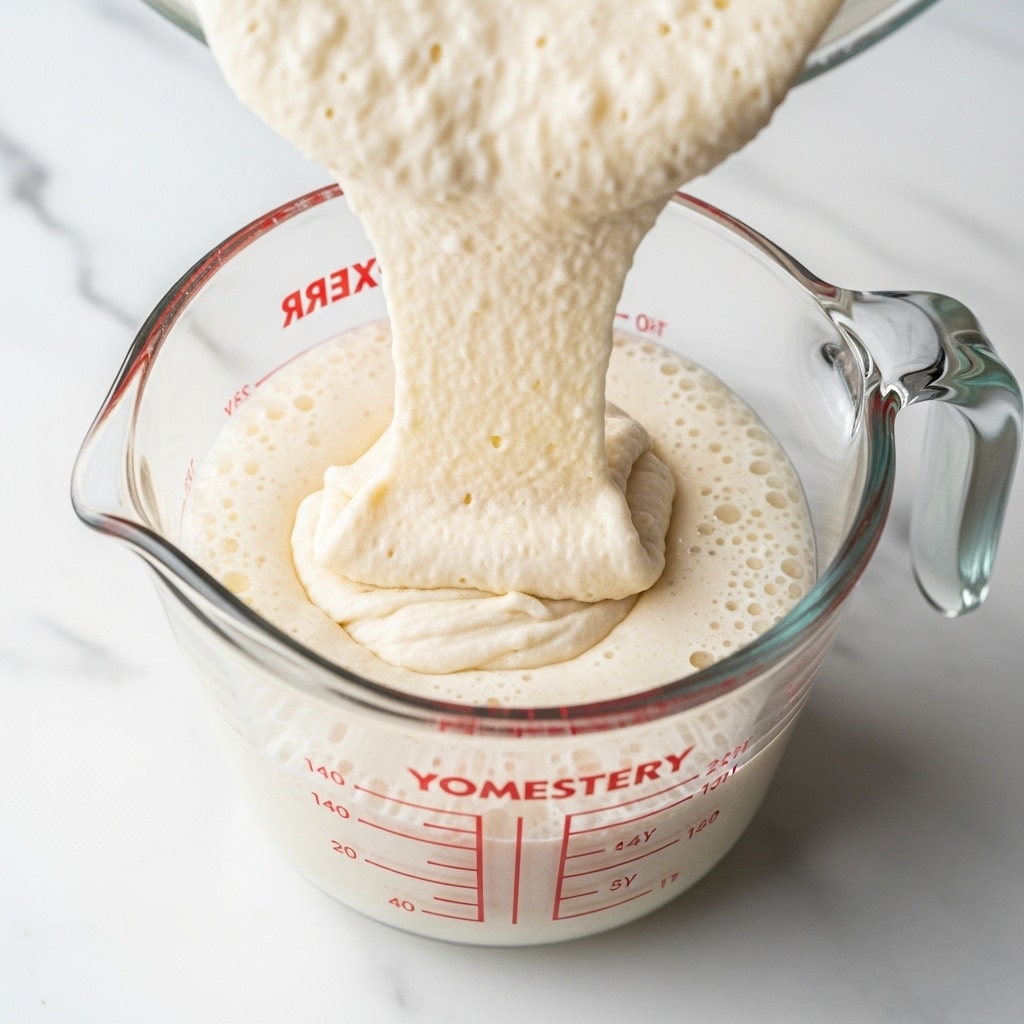
- Step 1: Combine ½ cup whole wheat flour with ¼ cup water in the jar. If needed, add up to ¼ cup more flour to reach a pancake batter consistency. Let the mixture rest for 30 minutes, then stir well with a wooden spoon. Set aside until the first feeding.
- Step 2: Stir the mixture thoroughly, then cover the jar with a paper towel secured by a rubber band. Let it sit at room temperature for 24 hours in a warm area of your home.
- Step 3: After 24 hours, check for bubbles. If bubbles appear, add ½ cup all-purpose flour and ¼ to ⅓ cup water. If no bubbles show, stir again and let sit for another 24 hours.
- Step 4: Check for bubbles again. If present, discard half of the starter, then feed it with ½ cup all-purpose flour and ¼ to ⅓ cup water. Stir thoroughly and let sit for 24 hours.
- Step 5: On the third feeding, remove half the starter, feed it with ½ cup all-purpose flour and ¼ cup water, stir well, and let sit for 24 hours.
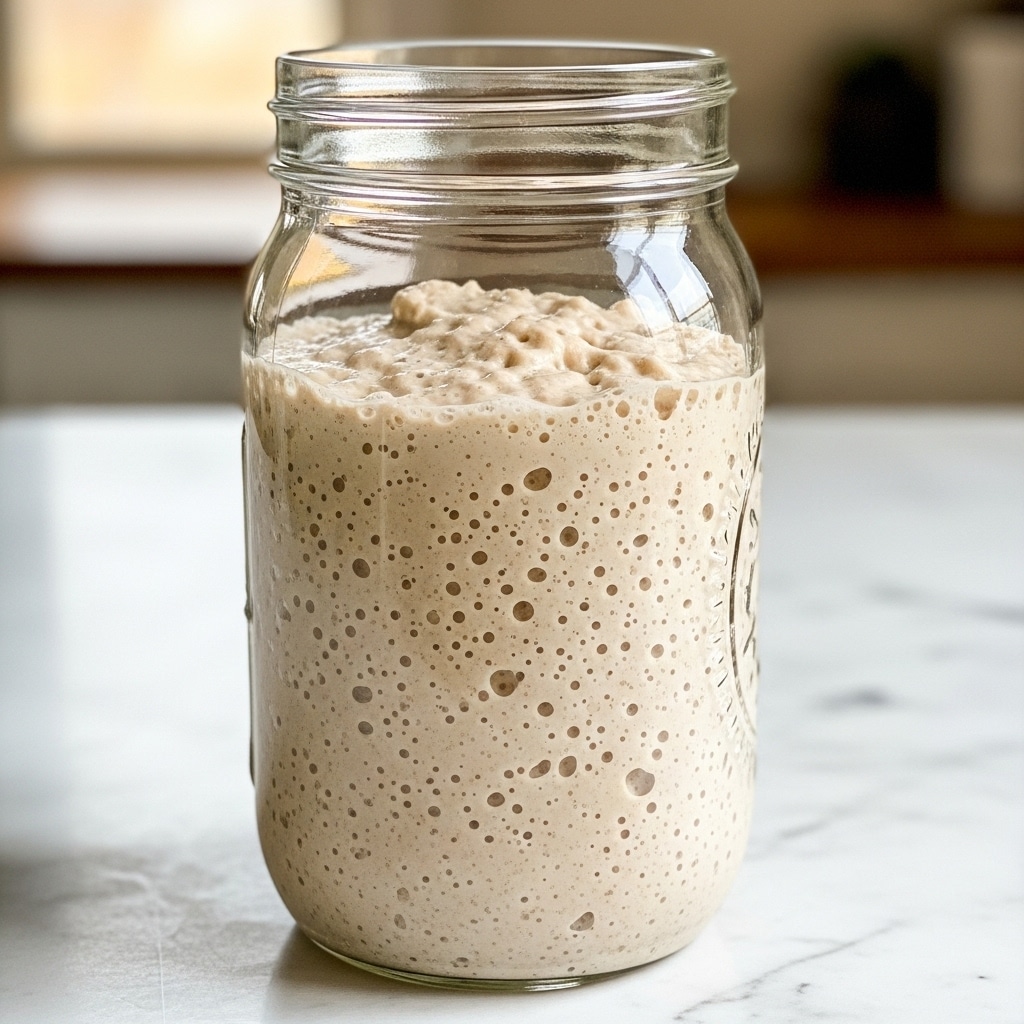
- Step 6: From days 4 to 6, you can feed the starter twice a day if you plan to use it frequently. Continue feeding until the starter bubbles consistently and doubles in size within 8 hours of feeding.
- Step 7: Once active, store the starter in the refrigerator and feed about once a week. Before using, remove it 24 hours ahead to feed and allow it to warm and grow.
Tips & Variations
- Use unchlorinated water to improve fermentation; bottled or filtered water works well.
- If your starter develops a layer of liquid on top (called “hooch”), simply stir it back in to add flavor.
- For a stronger flavor, experiment with rye or whole grain flours in the early stages.
- Keep your starter in a slightly warm spot, like near a radiator or inside an oven with the light on, to encourage activity.
Storage
Store your active sourdough starter in the refrigerator in a loosely covered jar to allow gas to escape. Feed it once a week to keep it healthy. When ready to bake, remove it 24 hours prior, feed, and let it come to room temperature to reactivate.
How to Serve
Serve this delicious recipe with your favorite sides.
FAQs
Why is my sourdough starter not bubbling?
A lack of bubbles often means the starter is too cold or needs more time. Try keeping it in a warmer spot and continue feeding it regularly. It may take several days to become active.
Can I use different types of flour to feed my starter?
Yes, you can use whole wheat, rye, or unbleached all-purpose flour. Different flours affect flavor and fermentation speed. Whole grain flours tend to ferment faster and add complexity.
PrintHow to Make a Sourdough Starter from Scratch Recipe
This guide provides detailed instructions on how to create and maintain a sourdough starter from scratch using flour and water. The sourdough starter is a natural leavening agent made by cultivating wild yeast and bacteria, essential for baking flavorful, tangy sourdough bread. The process involves initial mixing, multiple feedings, and regular maintenance to develop a robust and bubbly starter ready for baking.
- Prep Time: 10 minutes
- Cook Time: 0 minutes
- Total Time: 5 to 7 days depending on starter maturity
- Yield: About 1 cup of active sourdough starter 1x
- Category: Baking
- Method: No-Cook
- Cuisine: International
- Diet: Vegan
Ingredients
Basic Ingredients
- ½ cup whole wheat flour or unbleached all-purpose flour
- ¼–⅓ cup water, ideally at 75°F
Tools
- 1 glass jar or bowl (about 32 ounces capacity)
- 1 paper towel
- 1 rubber band
- Wooden spoon for stirring
Instructions
- Initial Mixing: In a glass jar, combine ½ cup whole wheat flour with ¼ cup of water. Stir thoroughly to achieve a thick pancake batter consistency, adding up to an additional ¼ cup water if needed. Cover the jar loosely and let the mixture rest for 30 minutes to begin fermentation.
- First Feeding and Rest: After the 30-minute rest, stir the mixture well. Cover the jar with a paper towel secured by a rubber band, allowing airflow while preventing contaminants. Let it sit at room temperature in a warm spot for 24 hours to encourage microbial activity.
- Check and Feed First Time: After 24 hours, inspect the mixture for bubbles, indicating fermentation. If bubbles are present, feed the starter by adding ½ cup all-purpose flour and ¼ to ⅓ cup water. If no bubbles appear, stir the mixture and allow it to rest an additional 24 hours.
- Second Feeding: On the following day, check again for bubbles. If bubbles are visible, discard half of the starter to control volume and feed with ½ cup all-purpose flour and ¼ to ⅓ cup water. Stir well and leave to sit for another 24 hours.
- Third Feeding: Repeat the discard and feed process: remove half the starter and add ½ cup all-purpose flour and ¼ cup water, stirring thoroughly. Allow to ferment for 24 hours.
- Additional Feedings: From days 4 to 6, you may feed the starter twice daily if intending to use it soon. Consistently feeding and discarding will strengthen the starter, promoting bubbles and doubling in size within 8 hours post-feeding.
- Storage and Maintenance: Once the starter is reliably active and rising, it can be stored in the refrigerator and fed about once a week. When preparing to bake, remove the starter from the fridge 24 hours ahead, feed it, and allow it to come to room temperature for optimal activity.
Notes
- Use filtered or non-chlorinated water to avoid inhibiting fermentation.
- Maintaining a warm environment (around 75°F) helps accelerate starter activity.
- Whole wheat flour is recommended at the start for better fermentation due to higher nutrient content.
- Discard portion of the starter helps control microbial balance and prevents excessive volume.
- If starter develops a pink or orange tint or unpleasant odor, it should be discarded and started anew.
- Feedings can be adjusted based on ambient temperature and starter vigor.
Keywords: sourdough starter, sourdough, natural yeast, fermentation, bread starter, baking starter, homemade starter